By day Chris is a mild-mannered father of two from Vienna. Who’s day job takes him to a local telecommunications company. But by night, Chris takes himself down to the dark depths of his 7m² basement, from where Chris focuses on the art of custom motorcycle building!
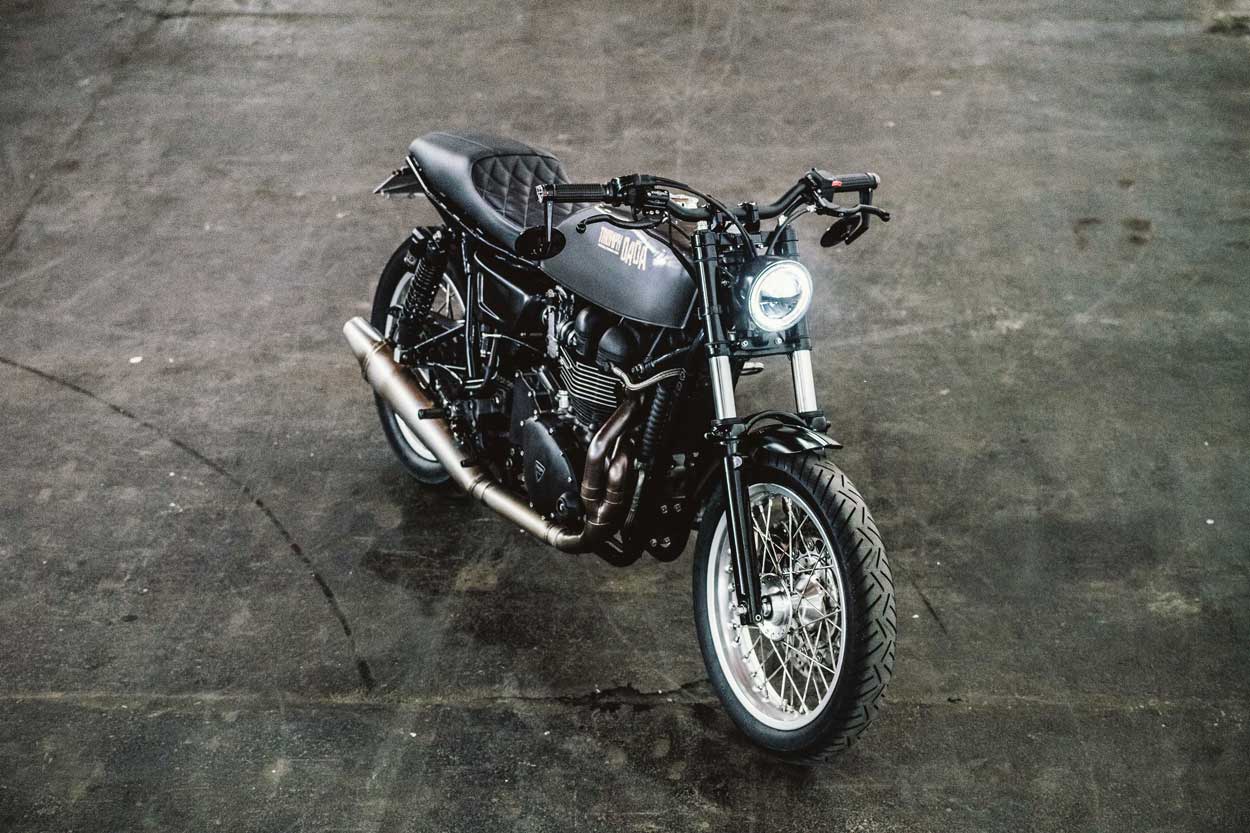
This 2004 carb model Triumph Truxton is the third build to ride out of Chris’s basement, and I think its a bit of a stunner. So much so when Chris submitted this build to Bonnefication, I just had to know more. Something which Chris was more than willing to do. So in his own words…

“To me, it’s important that a bike is improved after the customisation process. Too often I see bikes that, without a doubt, look cool, but not improving or even worsening the performance and handling (e.g. pod filter on standard carbs. Also being street legal is important. Sure, cutting and welding all sort of custom stuff might look or even work, but without passing the tests it’s a no go. This limits a build’s creative freedom substantially, I know. Also, it’s fairly easy to create a cool looking custom build when spending, I don’t know, £30k on it! (It’s the same thing as advertising an 80m² bathroom, of course, it’s wow!)””I approached this build in three different areas, firstly the handling, second the look, and thirdly the electrics.”
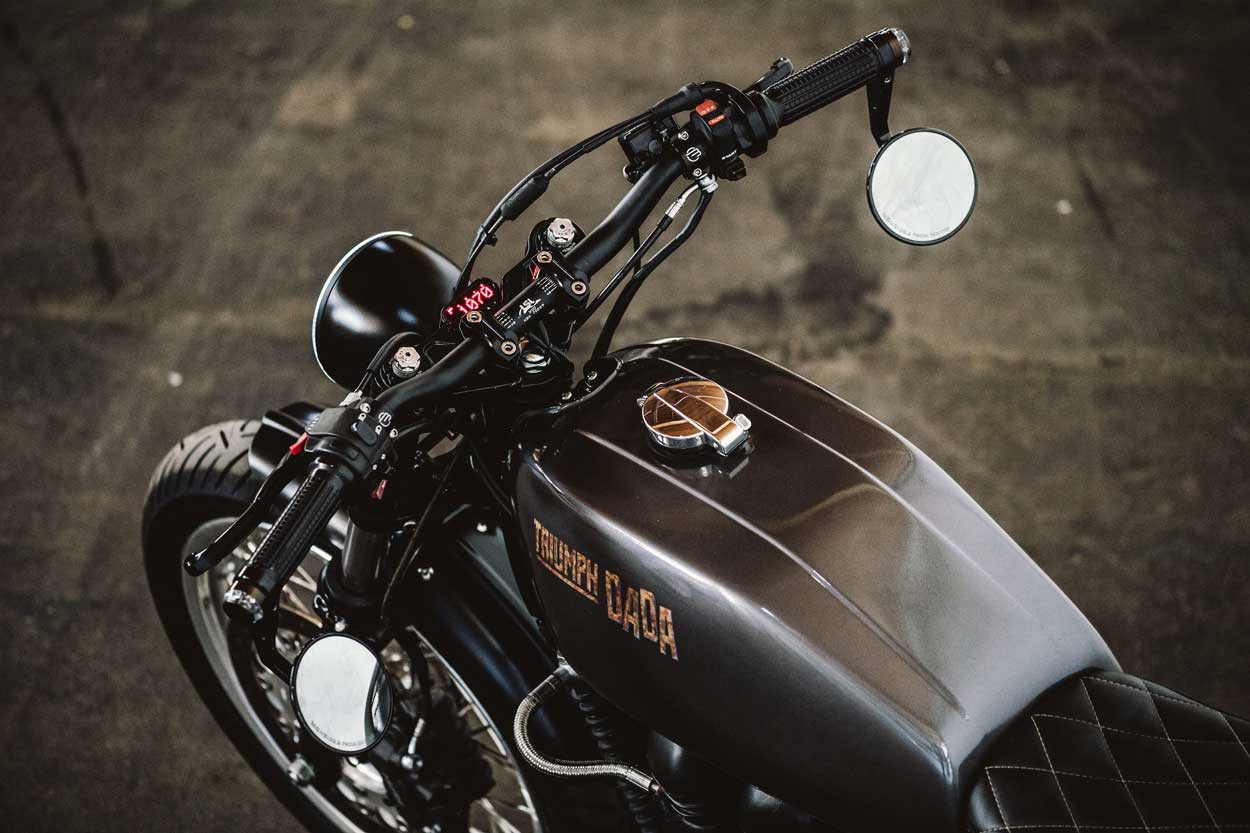
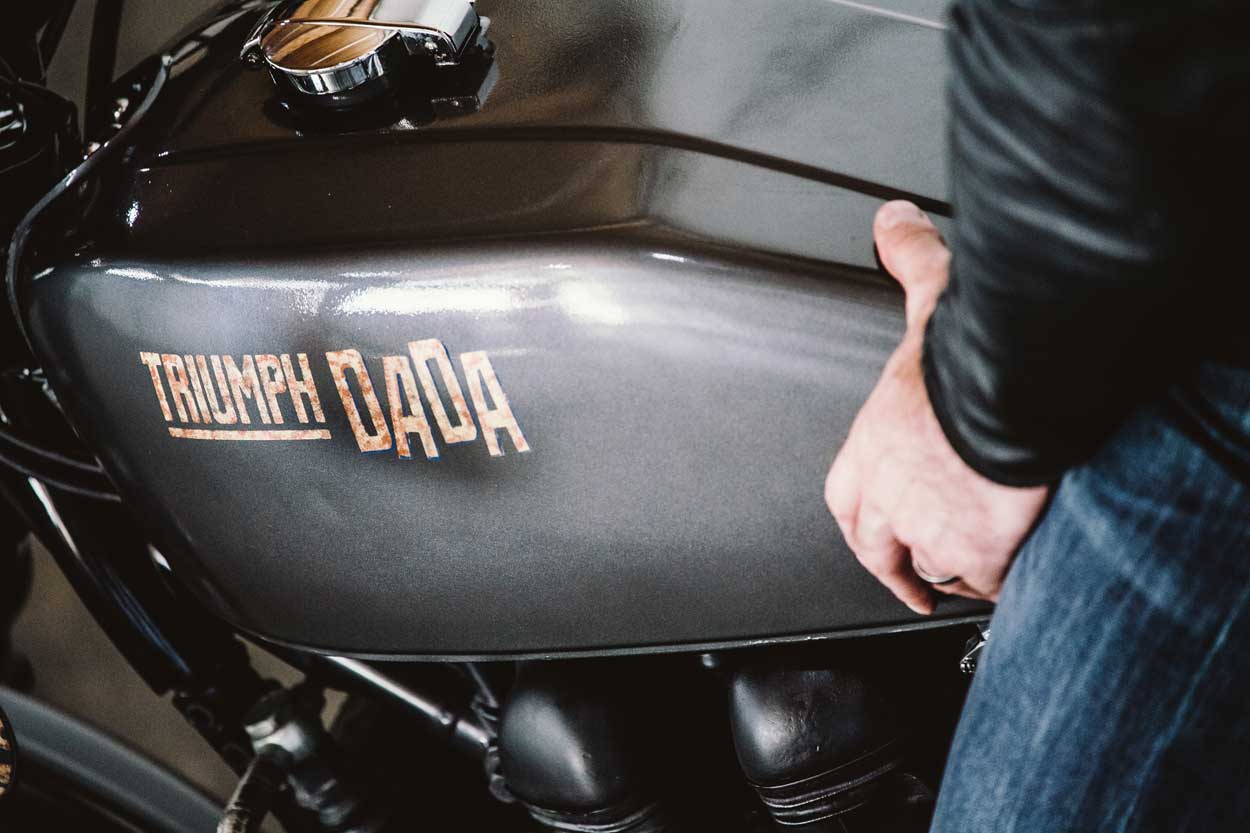
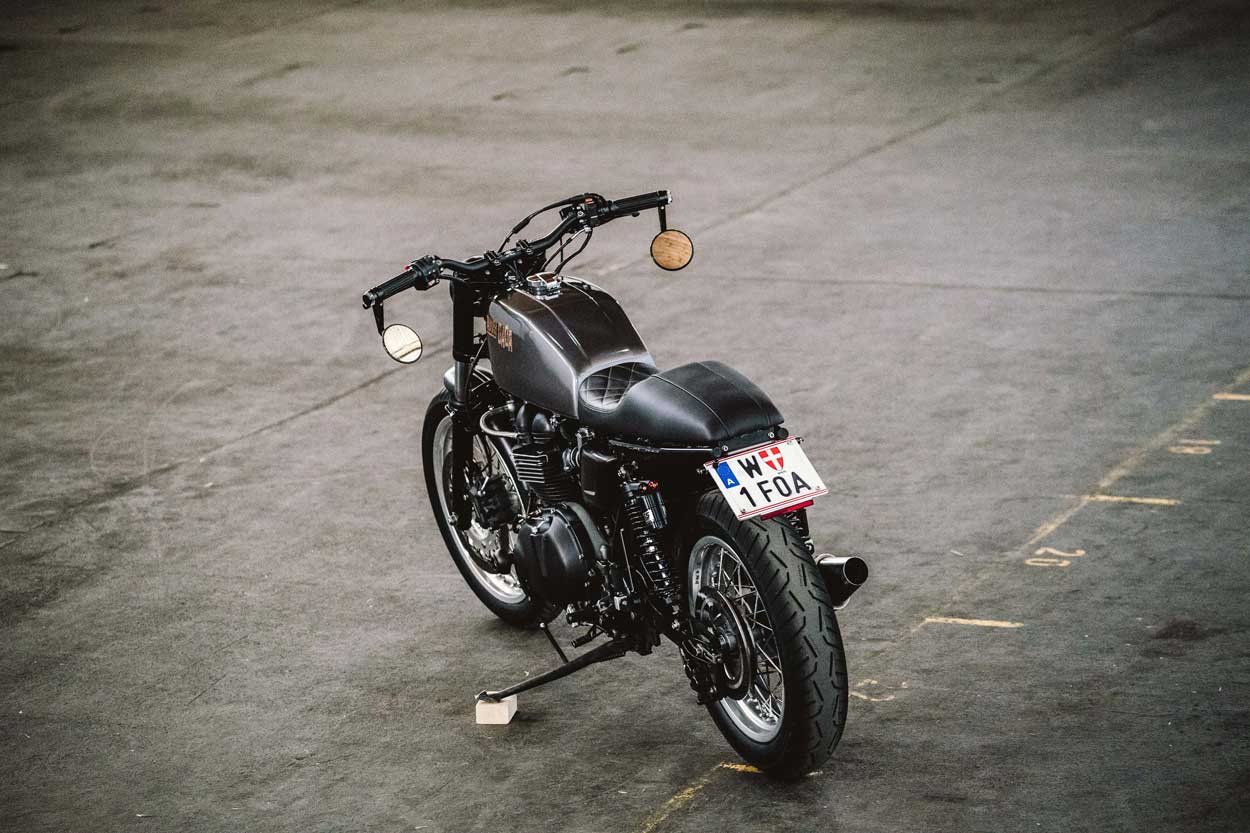
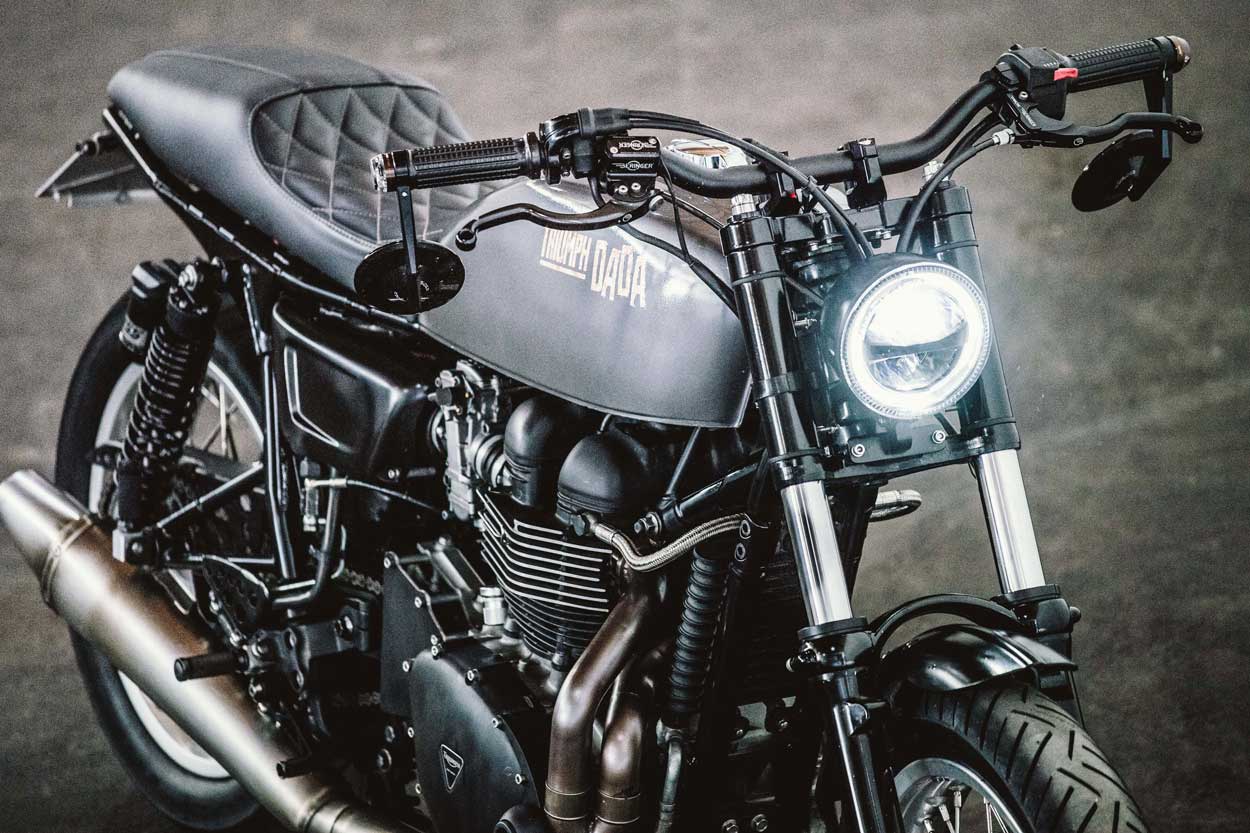
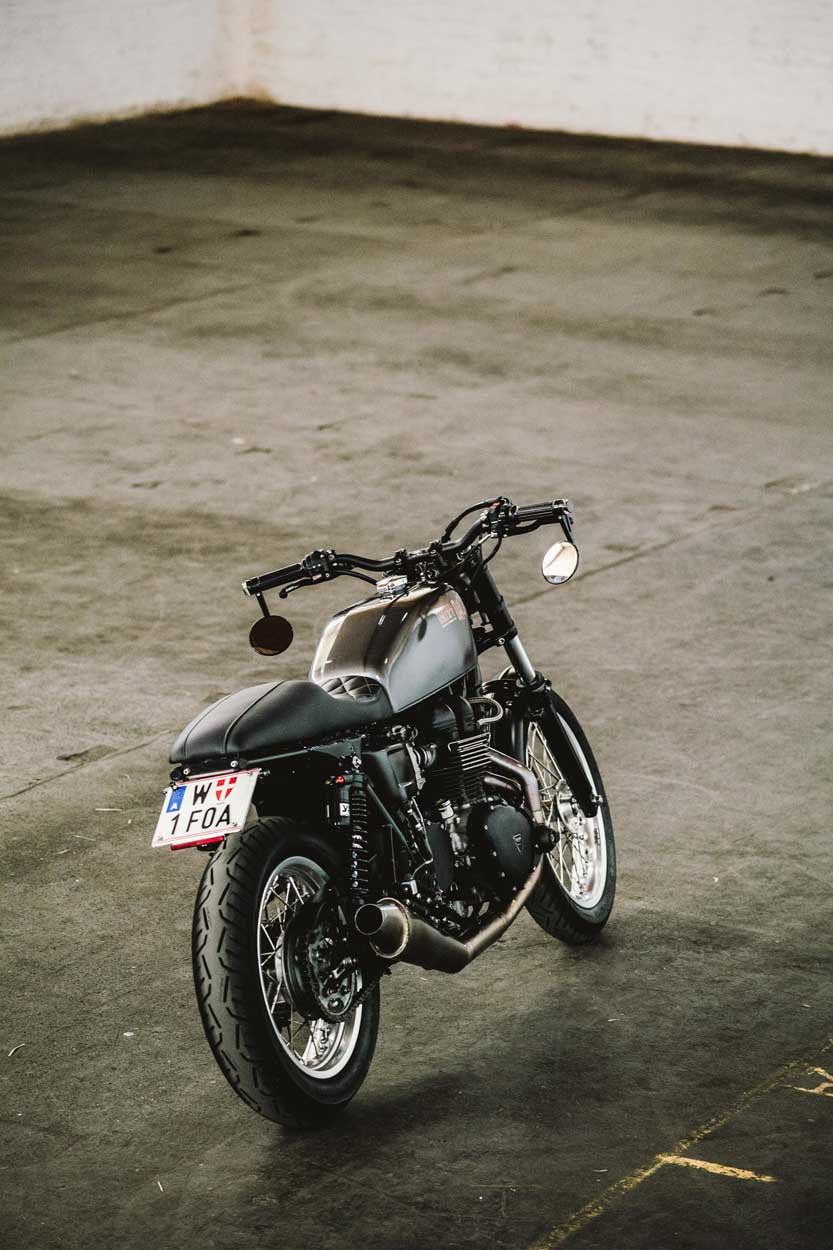
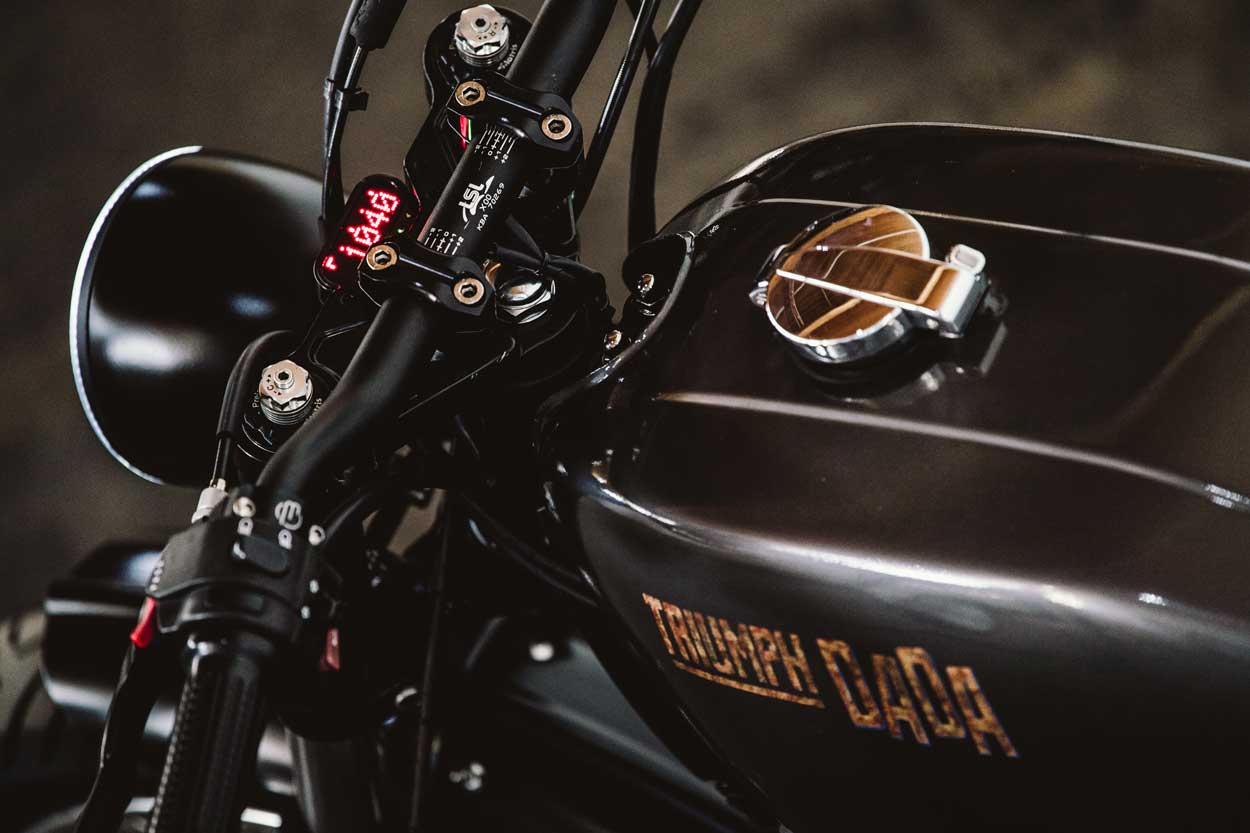
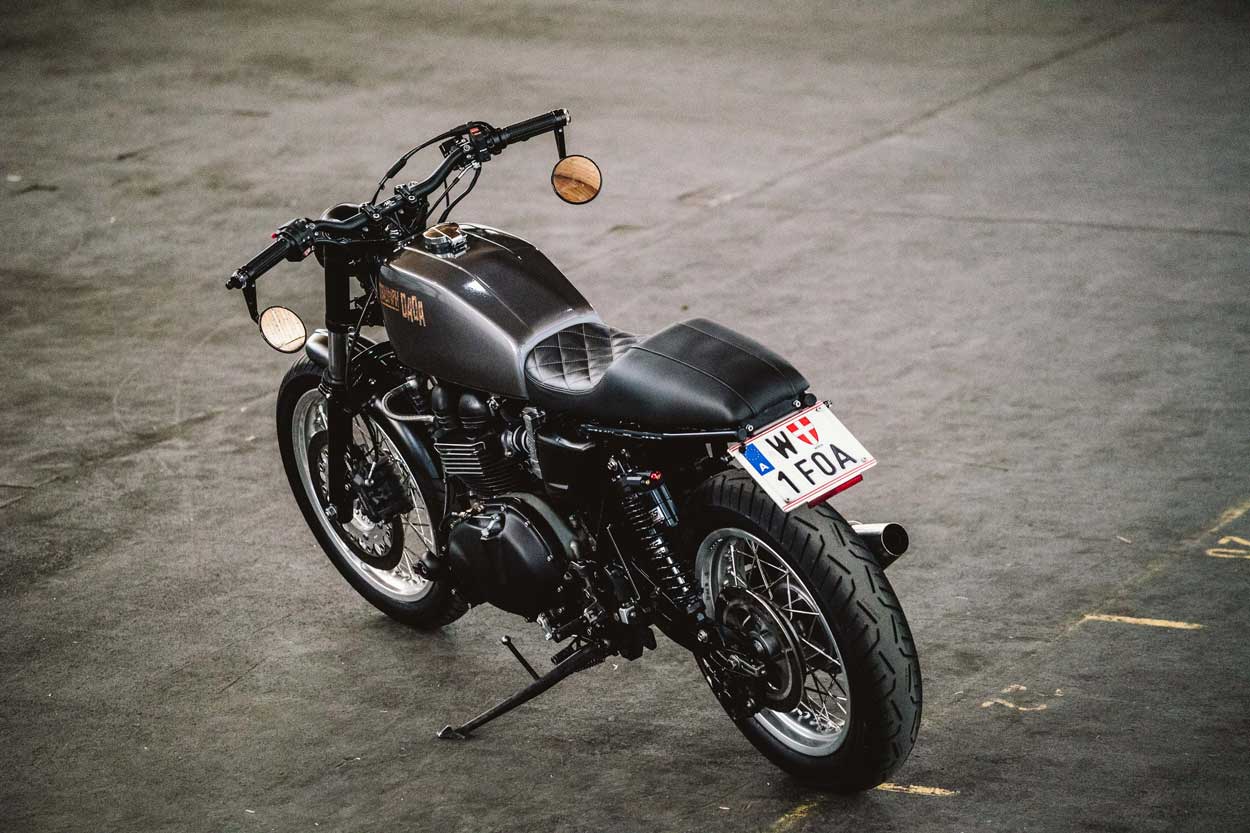

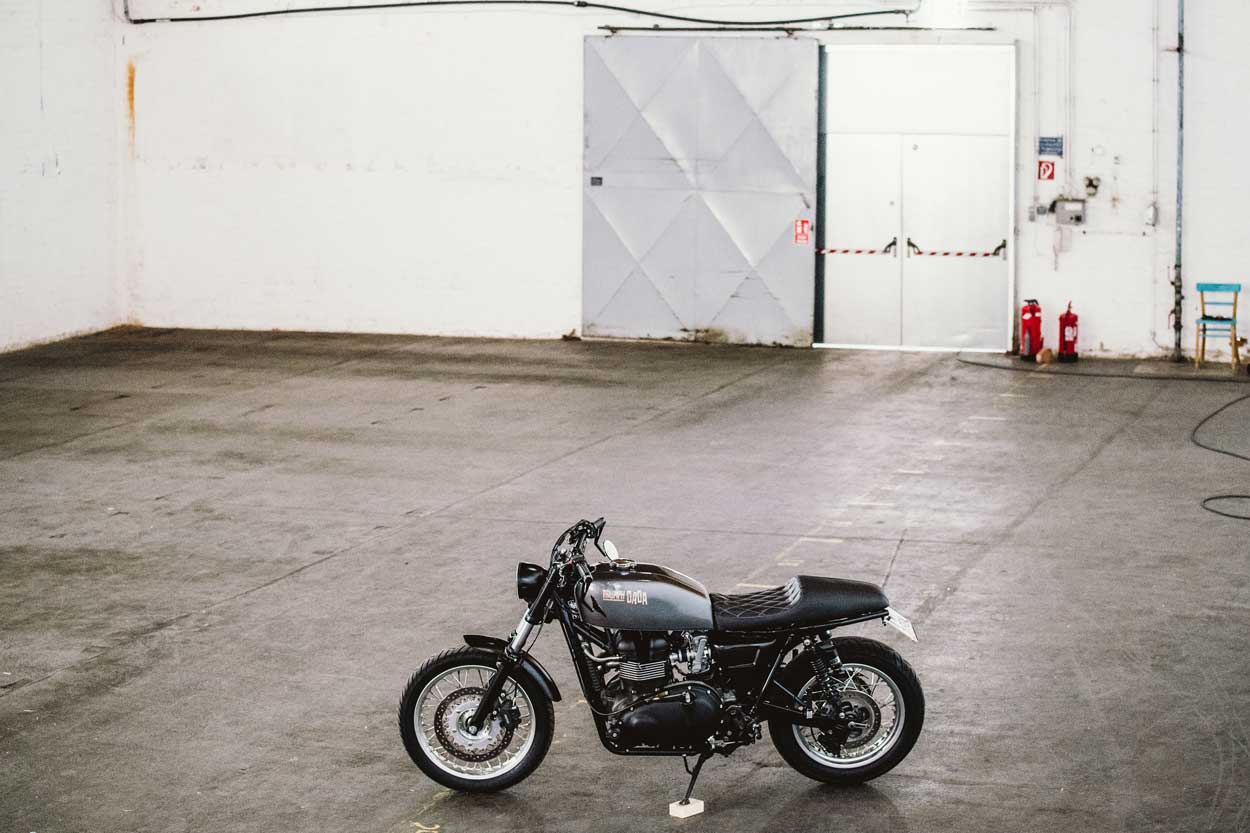

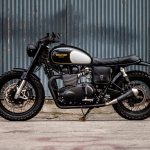
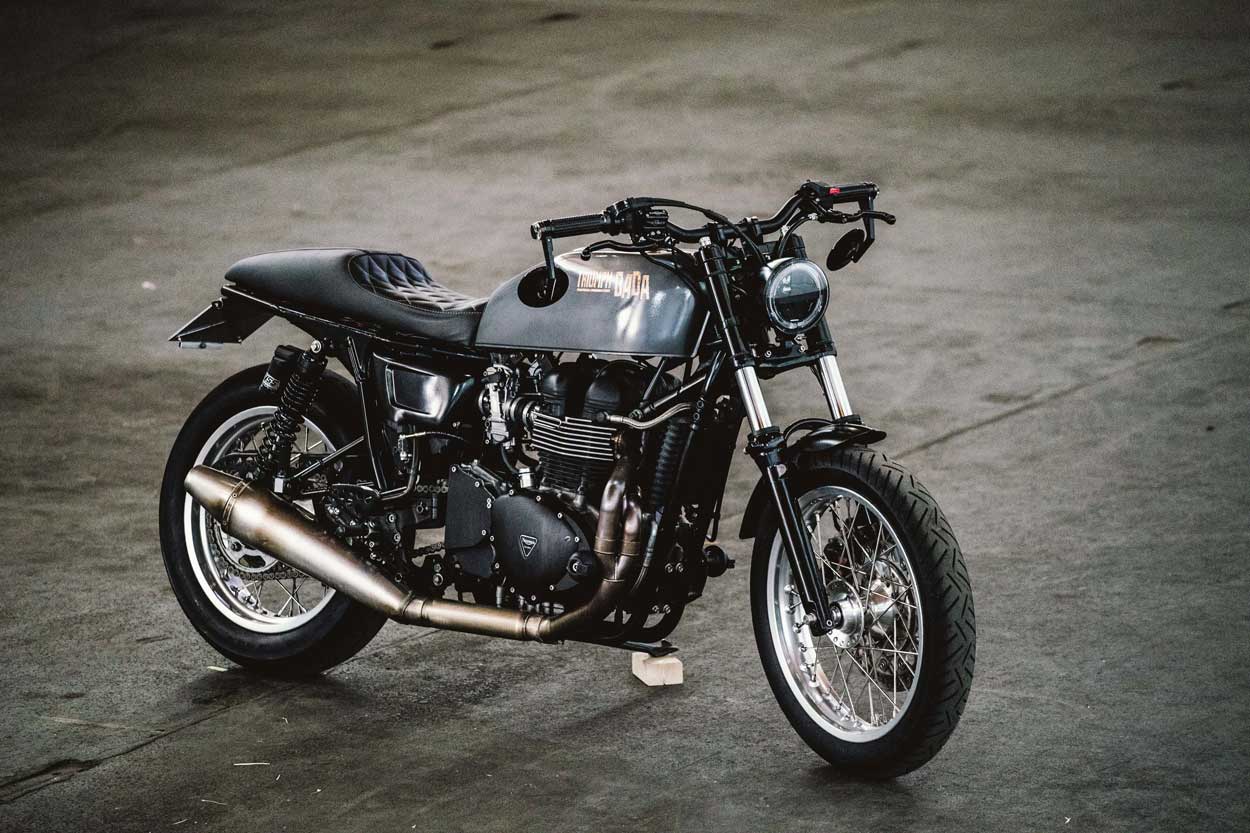
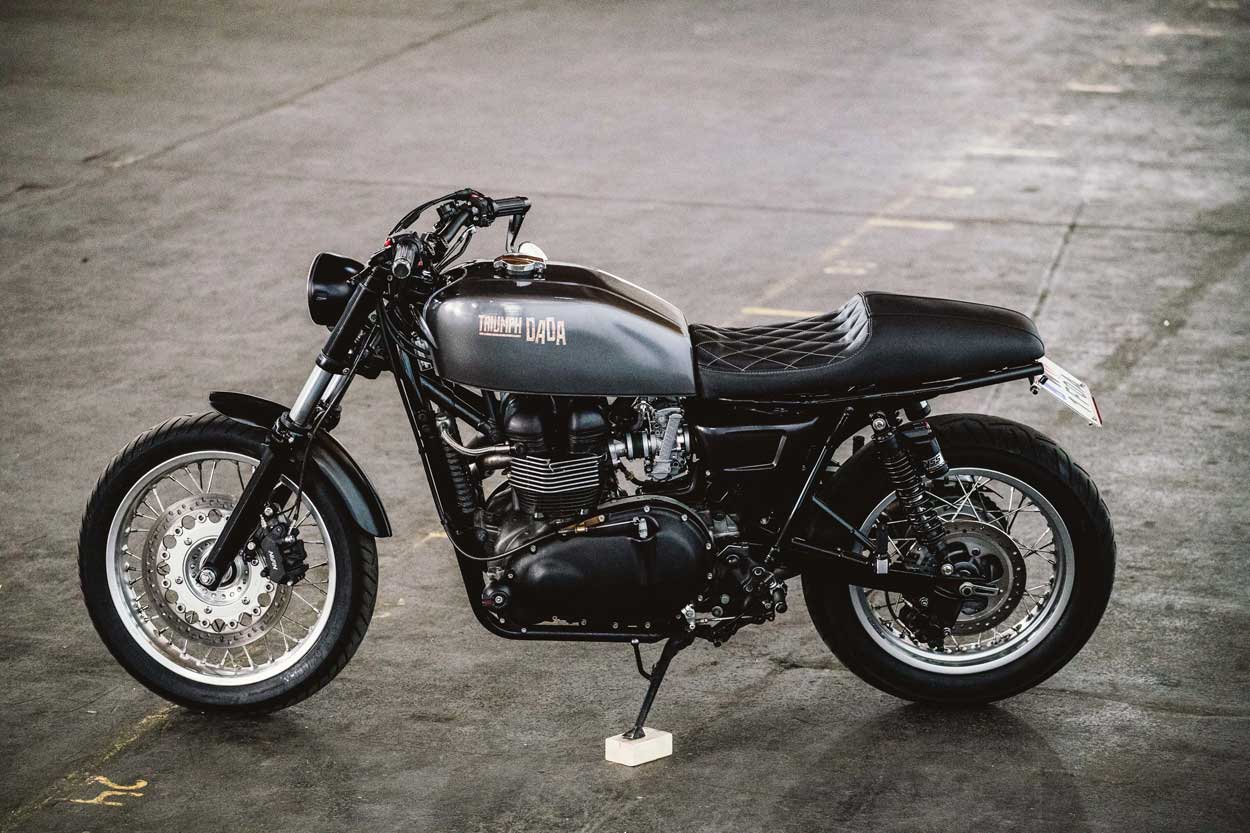
“So in the handling department from front to rear: Forks – I didn’t want to put an upside-down fork on it as I wanted to keep the classic look. So my decision was a fully adjustable fork cartridge, but not from the usual Swedish producer but from Matris Italy. As rebound and compression are located in one fork leg each, you want to stiffen both slider tubes as much as you can, hence a stronger larger diameter axle was fitted together with a fork brace.””The brake calliper has been changed to a larger 3 pot Nissin unit from a Honda CB. The brake is actuated by a Beringer BRO-12 master cylinder with integrated reservoir. With new braided steel brake lines and sinter pads, stopping power has been improved tremendously. Continental Road attack 3s are covered by a chopped original fender (as I like the profile with a hump in the middle). “The top triple tree was replaced by an LSL unit and powder coated, fitted with LSL x-bar clamps and an LSL x-bar handlebar. The rear end was improved by simply fitting a perfect price/value pair of fully (high and low-speed compression!) adjustable racing piggyback shocks by YSS. (again I wanted to avoid the Swedish products).””Throttle response was improved by 2 FCR39 carbs from Mikuni that suck air through K&N filters inside an opened, cleaned and newly sealed air box (removed the metal baffle and all plastic bridges inside). (Keeping the airbox is due to regulations as open filters are prohibited for motorcycles from 1991 or younger.)””The Zard Tromboncino stainless exhaust saves some kilos and in addition, helps to improve hp a bit. The drivetrain sprockets were changed to a 17/45 ratio and the from one was covered by a simple cut and shaped aluminium plate with spacers. Shifters were replaced by black adjustable LSL units.””The looks: I am more towards edgy and slim tanks so the bulbous original unit had to go. I tried different units on the bike, like very small old Sachs tanks, a Kawasaki Z550, Suzuki GN, etc. a Honda CB360 (which I already used for my Dominator build) came close but finally, I opted for a CB400 four tank.””I had to relocate the tap and welded it an between engine head an carb, I modified the tunnel of the tank to have it sit lower and fabricated holding clamps that slide over the Thruxtons rectangular frame. It’s a pretty cool clamping design holding the tank’s rubber cushioned but secure. It’s even easy to reverse to original, remove the tank, remove one clamp and you can use an original tank again.””I removed all dents, removed the rust inside, coated the inside and painted the tank in Aston Martin Casino Royale grey. A friend of mine did the “Dada Triumph” logo in a time-consuming process with 3 different colours (gold, rust brown and blue) that were applied by brushes. Everything was 2 component clear coated and finished.””The CB tank has a great looking subtle hump stripe in the middle so I decided to use that line and have the rear of the seat following these lines. The seat base was fabricated using 4mm aluminium that follows the frame’s lines. A new mounting clamp was fabricated as the original tank was ditched, providing standard seats with an option to hook in. As I wanted a humped seat but still keep the option to have someone sit in the back comfortably, I shaped a seat with 3 different foam materials and densities.””The only thing that I did not by myself is the seat cover which was done by a friend in black genuine leather with matching gold diamond stitching.””The original rear fenders were removed and replaced by a 4mm aluMINIUM piece and a fabricated license plate and indicator holder made of stainless steel and aluminium. The Highsider tail/brake light strip and the tiny Motogadget indicators now form an as minimal as it can get unit. (Sidenote: the combined taillight/brake light led strip that you often see is illegal in Austria too.)””Slim black side covers from TEC bike bars were fitted and the now way too large original 7“ Triumph headlight was replaced by a tiny 5,75in LED unit from Highsider.””This directs me to the third area:

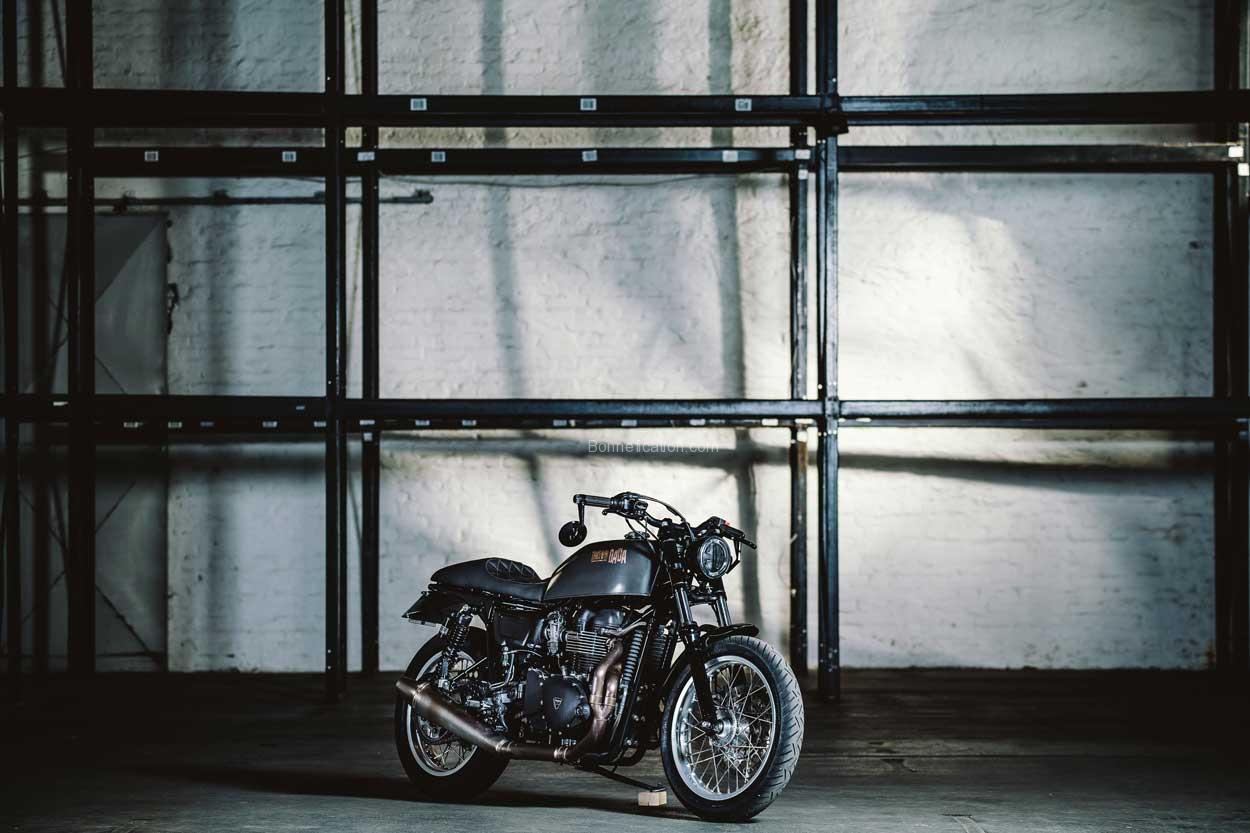
Electrics: Messing around with cables, fuses and relays is not everybody’s cup of tea but as I replaced the headlamp, I had to deal with it anyway. Just removing the insulation tape and relocating all the connectors seemed like a bit of a shoddy work to me so I decided to go all in. I relocated the regulator rectifier to the rear wheel well (cleaning up the front), ditched the ignition switch (I don’t like keys anyway), and removed the entire wire loom. That’s easily 3kg of old wire that went off the bike.””Using a Motogadget m.ride Bluetooth unit and a fully programmable Ignitech CDU from Czech Rep., the electrics are now state of the art. (And yes, to me the keyless go feature is super cool, just approaching the bike with my smartphone in my pocket, sitting down on the bike, starting it and off we go – all this on an old looking bike!) To tiny, up the front, I used Motogadget disc indicators and a Motogadget Motoscope mini tacho unit that perfectly blends into the top triple tree.” “The ergonomics of the bike is now perfect for me, pretty comparable to a Speed Triple. I like to ride that bike hard and with all the go faster goodies it’s great to keep up with the modern bikes (ok, I have to admit that on longer straights the limited power of the bike makes me lag behind the Ducatis etc. but hey, depending on the rider it’s possible to catch up and play with the ‘big guys’.”

“The only thing that I want to change in the future is maybe a big bore kit. But currently, that’s on rank 5 of our household’s priority list behind a bathroom renovation and new heating system.”
Damn fine build that Chris!
Photography by ©Georg Aufreiter, www.motographer.at